Motion Design
1740QCA
Assignment 02
Reihaneh Azizafshari s5413308


week 06, Assignment 02 Task 01: Animating 2D text in After Effects
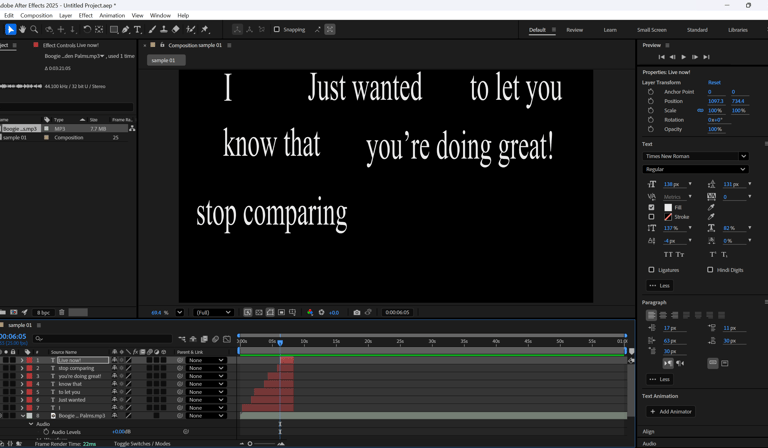
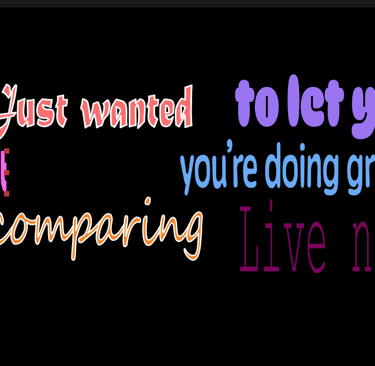
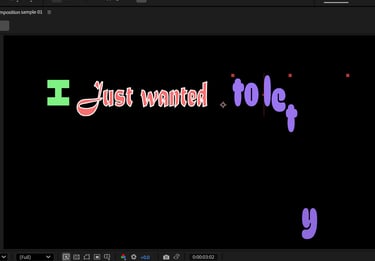
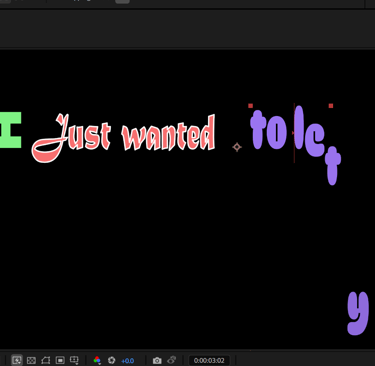
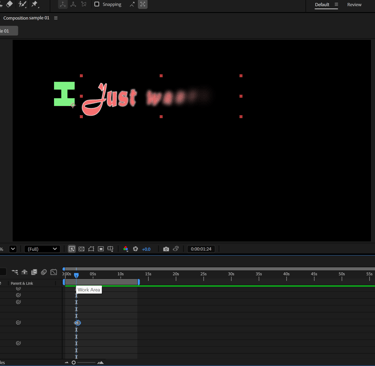
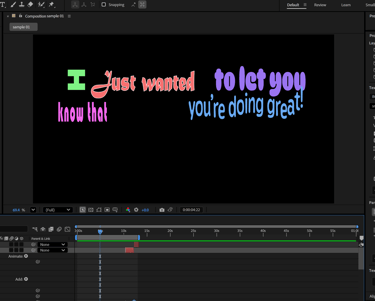
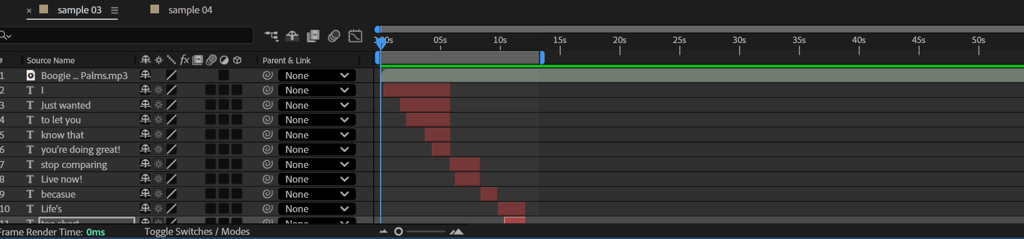
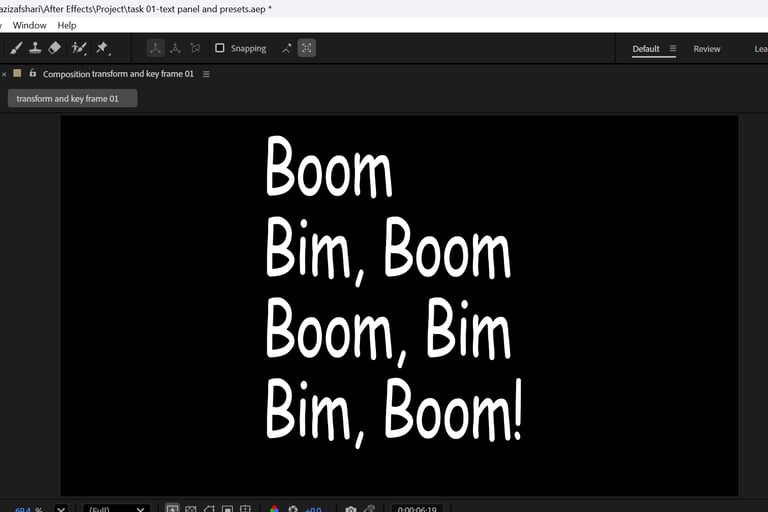
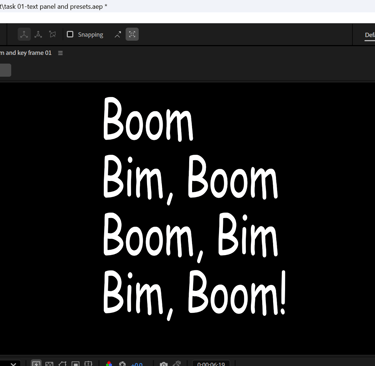
I started by adding few text layers.

"I turned on the proportional grid to help align the text, making sure all the lines were evenly spaced and properly aligned.
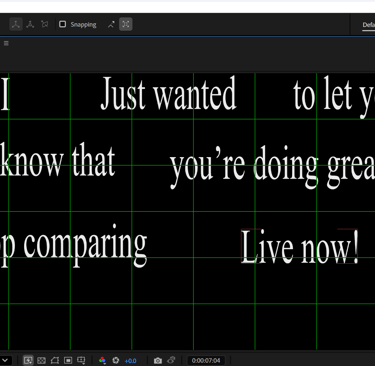
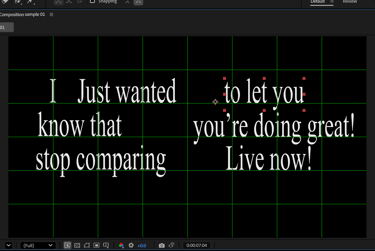
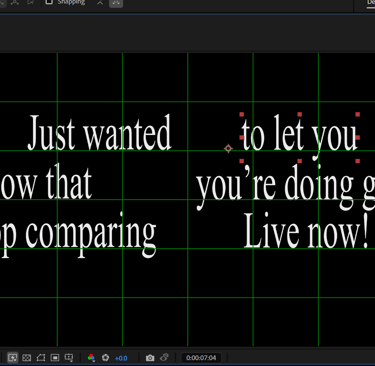
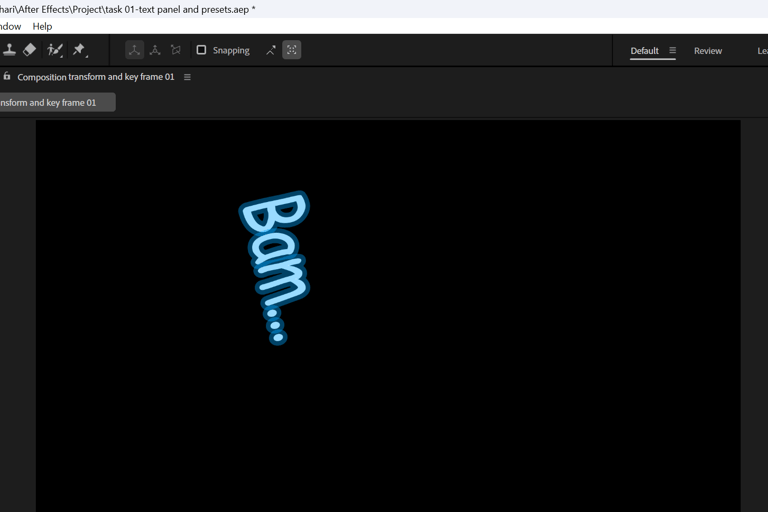
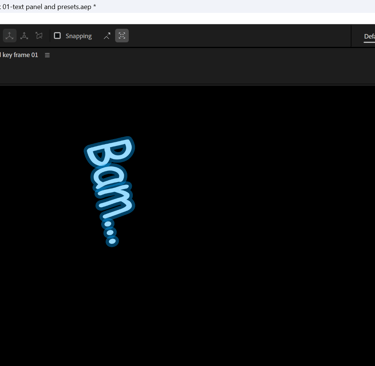
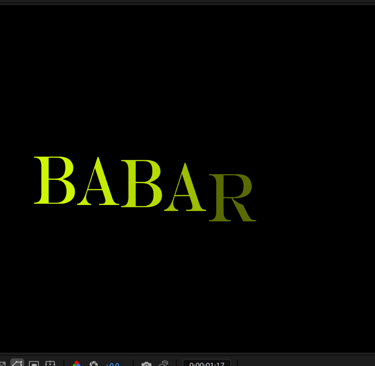
applied different fonts to each text in the text panel
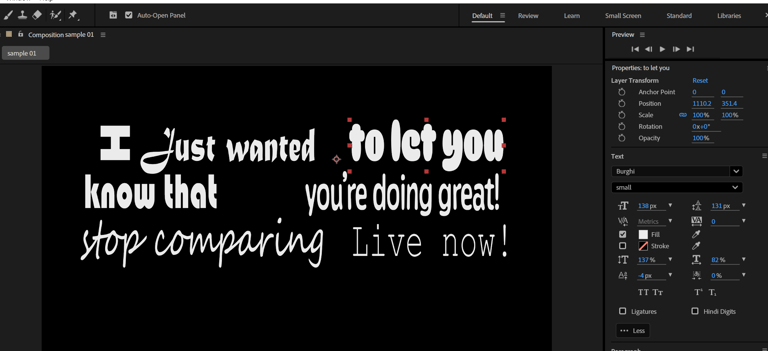
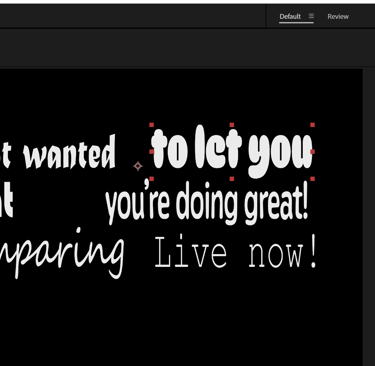
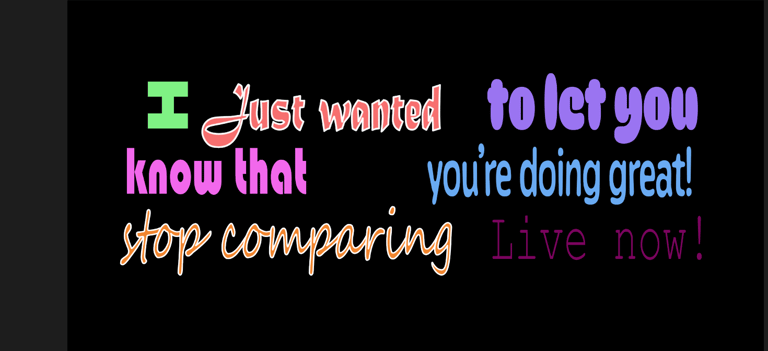
changed the fill colour and added stroke
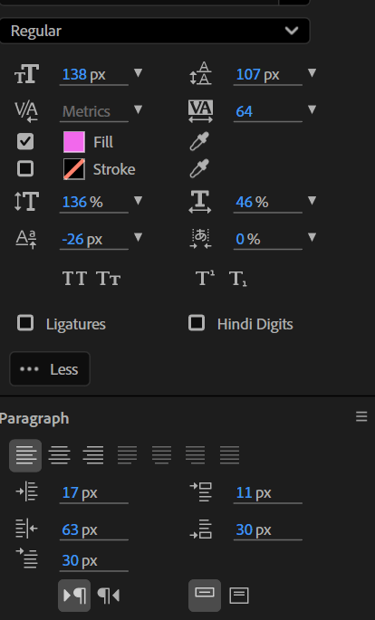

clicked the "more" option in both the text and paragraph panel for further adjustments like the vertical and horizontal scale.
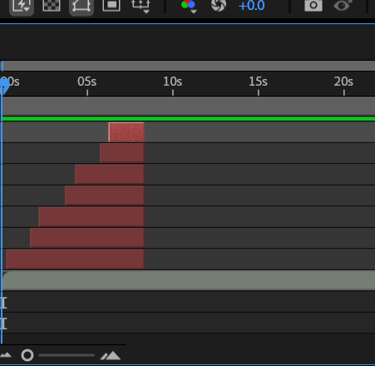
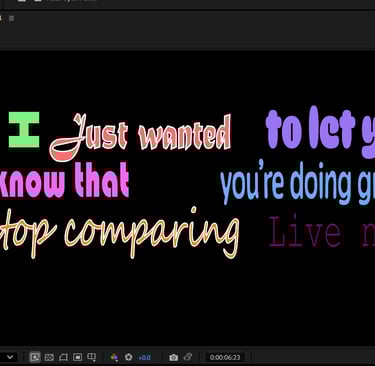
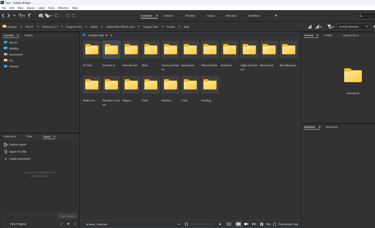
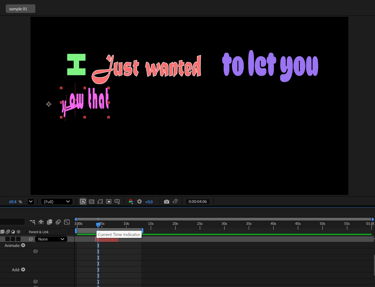
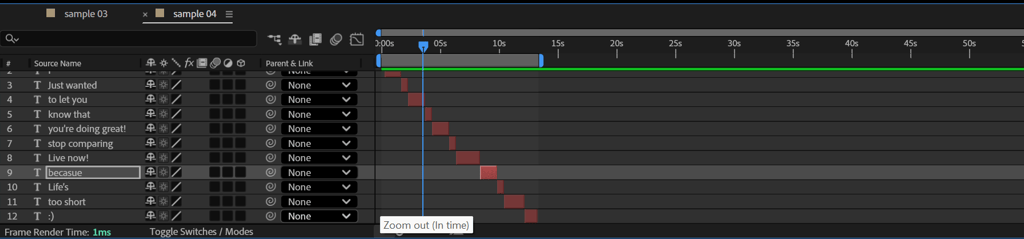
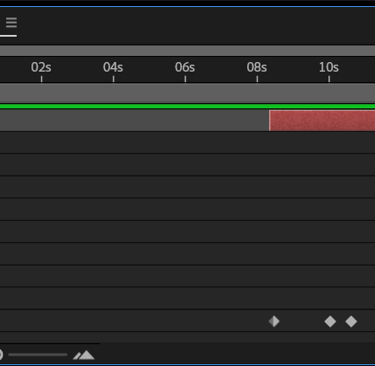
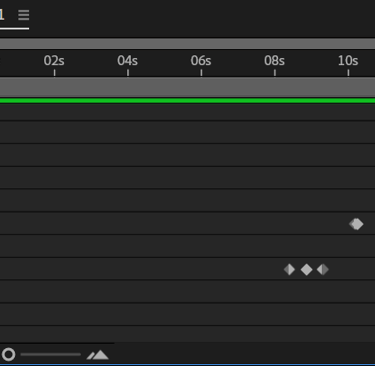
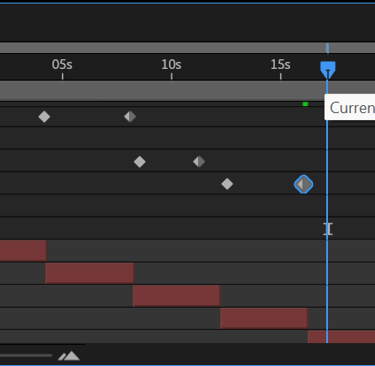
I opened the Browse Presets panel in Adobe Bridge and selected different text animations for each line. I adjusted the start and end keyframes to better synchronize the animations with the audio. I also applied presets from various folders within the text animation library to add variety and match the tone of each line.
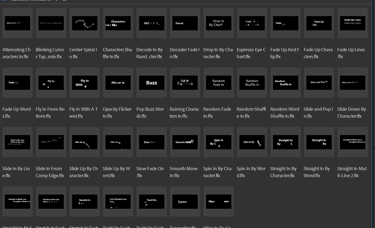
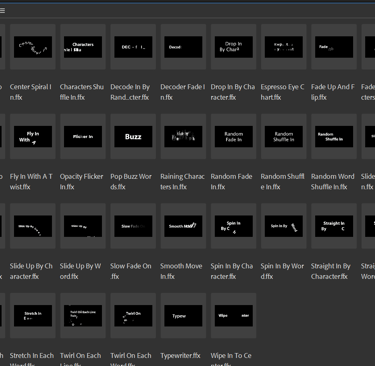
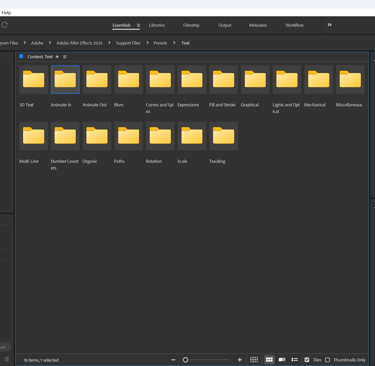

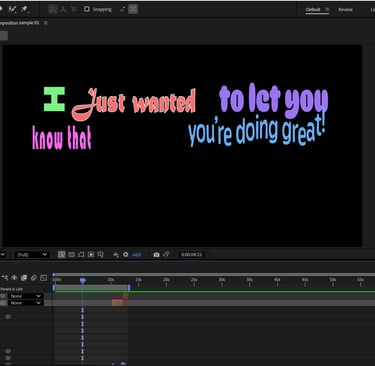
From the 'Animate In' presets, I selected 'Fade In' and 'Slide Up by Character' for some of the text. Then, from the 'Blur' presets, I chose 'Blur In' to add variation and make the animations feel more dynamic.
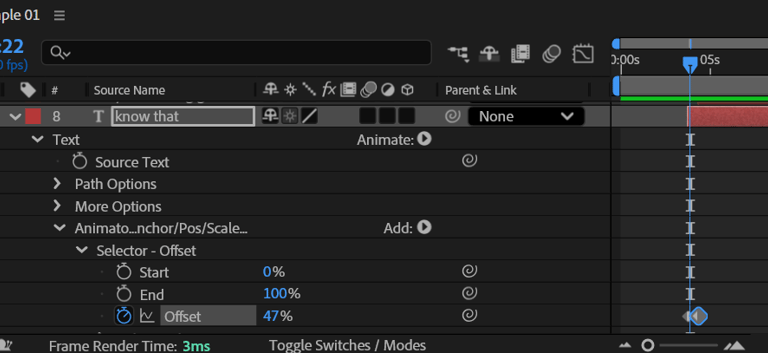
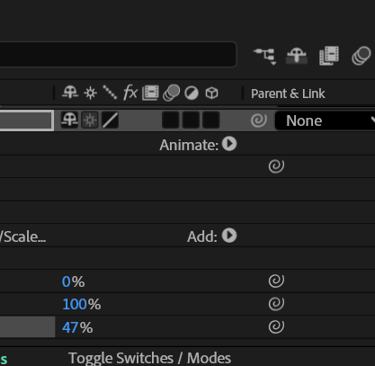
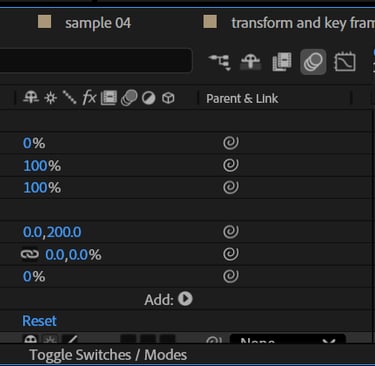
I used the Offset option in the Selector settings to control the timing and flow of the text animation with key frames. Also for other texts I chose spiral out from curves and spins preset, text bounce from expressions, sliding color flicker from fill and stroke, zoom forward from the scale presets and lastly magnify from tracking.
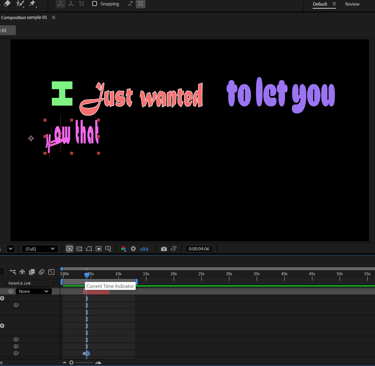

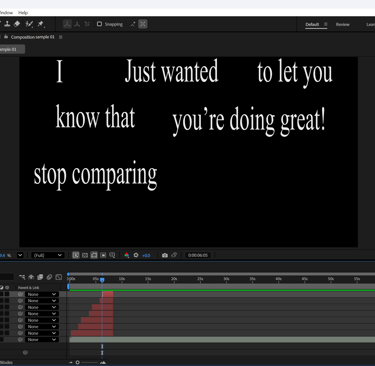
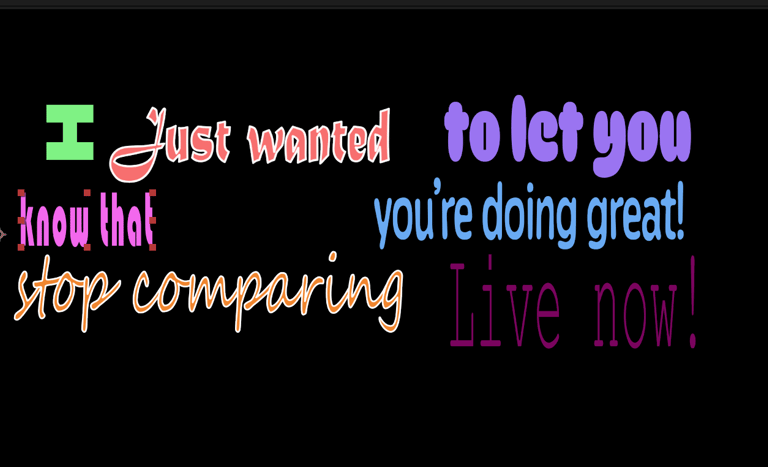
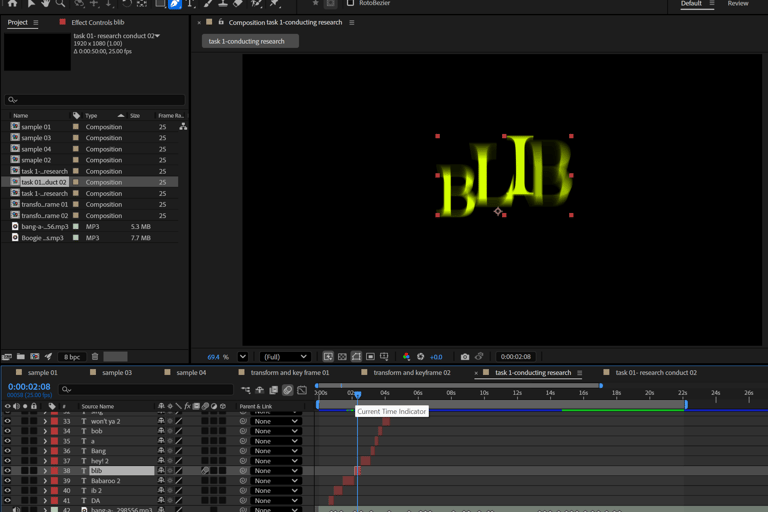
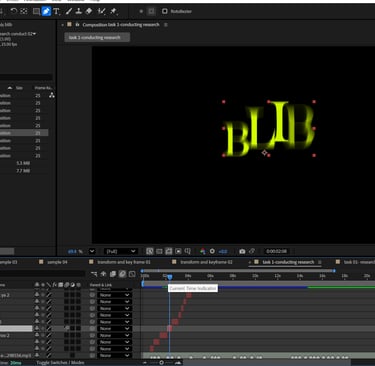
For the second and third compositions, I started by copying and pasting the text from the first comp so I didn’t have to retype everything. I then adjusted the length of the text layers to control the timing i n a way that they look different from each other. After that, I changed the fonts and colours using the Text and Paragraph panels. Finally, I applied various animation presets and adjusted the keyframes.
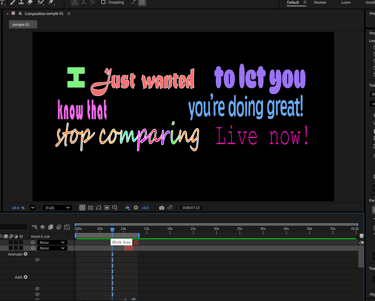
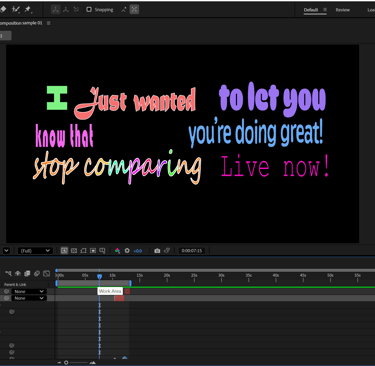
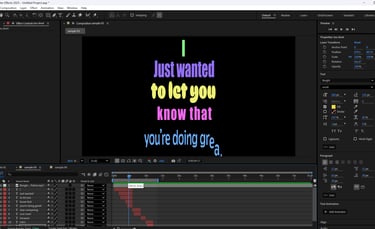
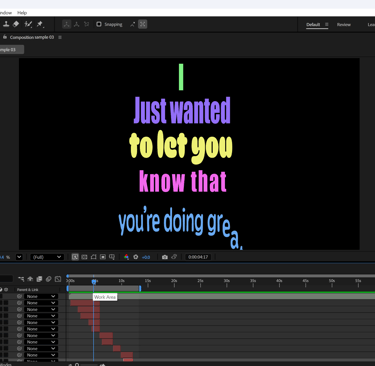
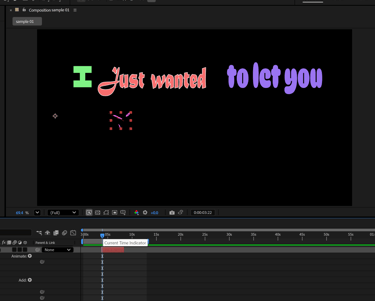
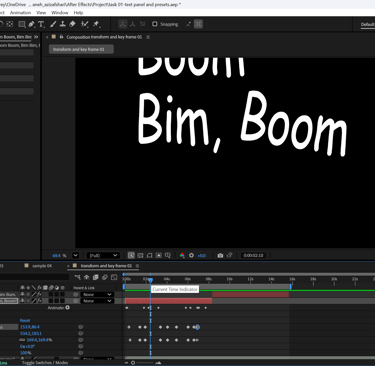
Here are the three video results for my experimentation with the text panel and animation presets.


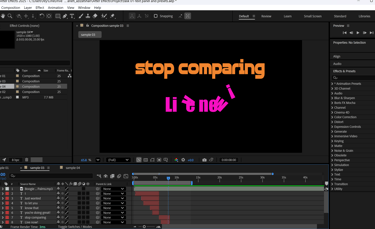
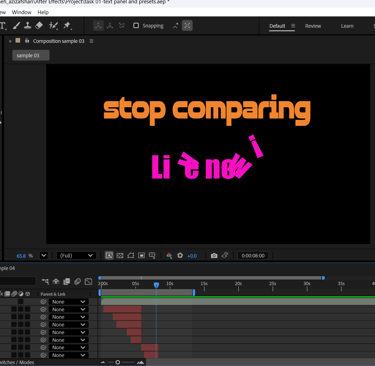
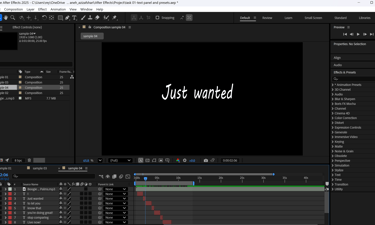
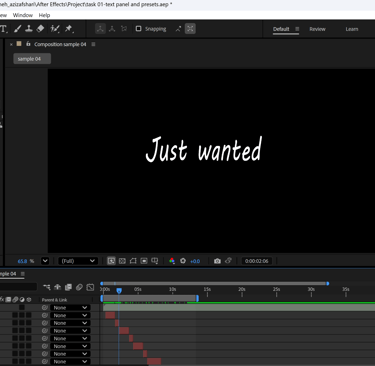
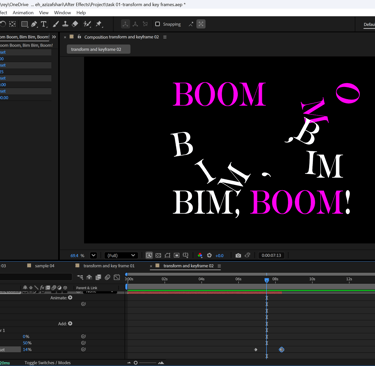
Text panel and presets
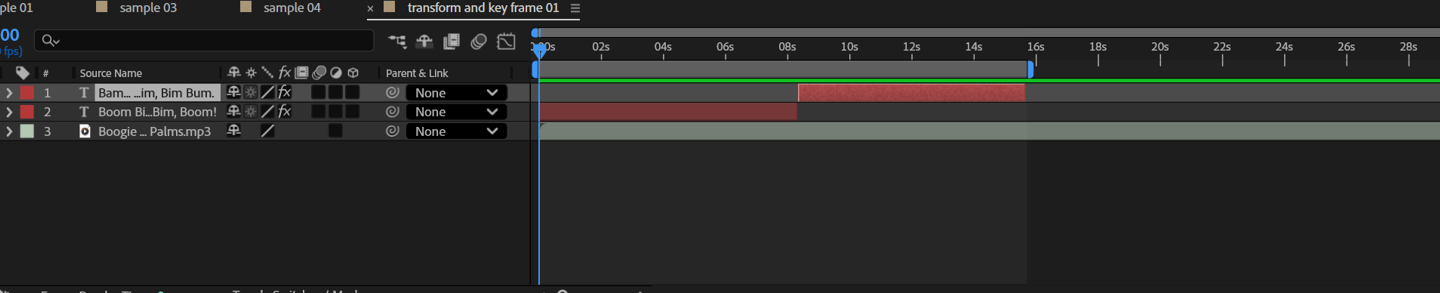
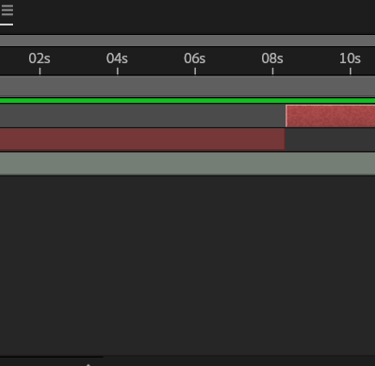
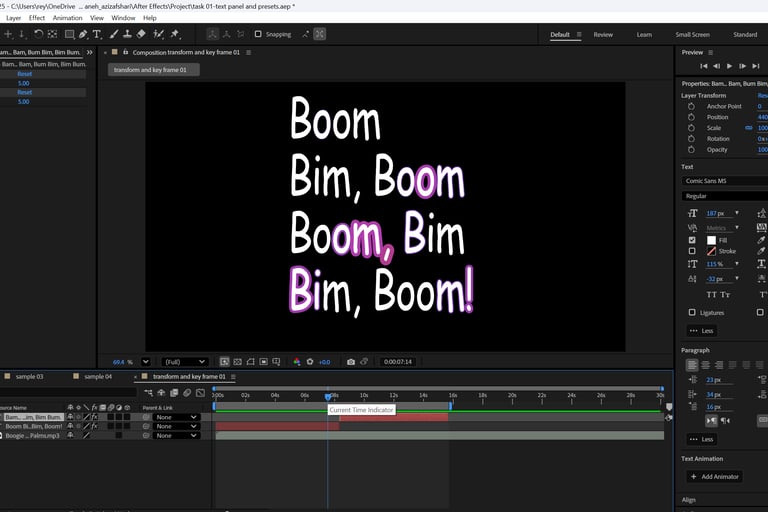
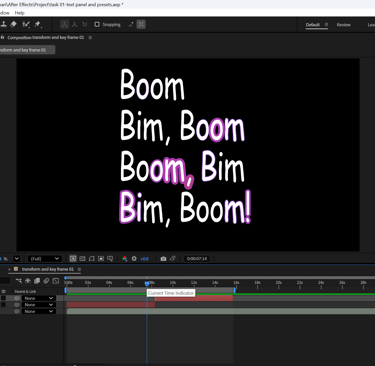
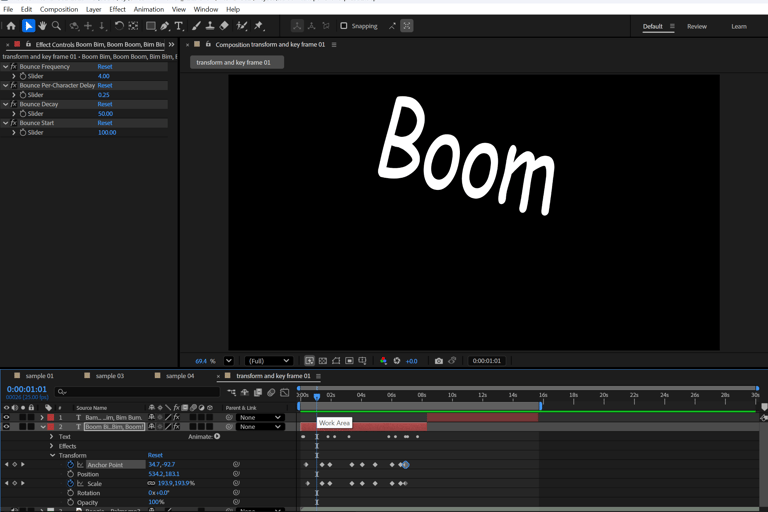
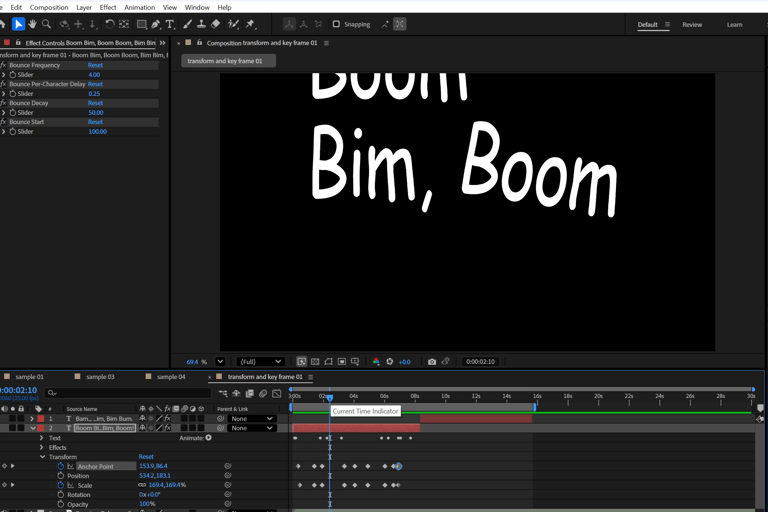
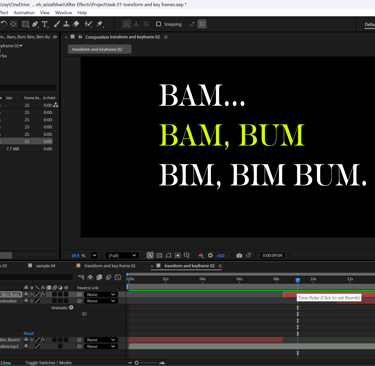
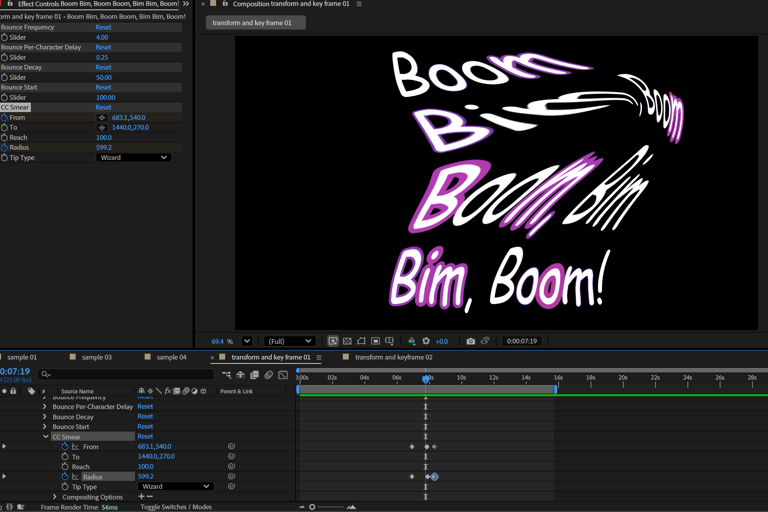
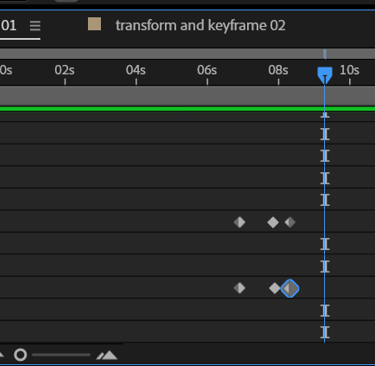
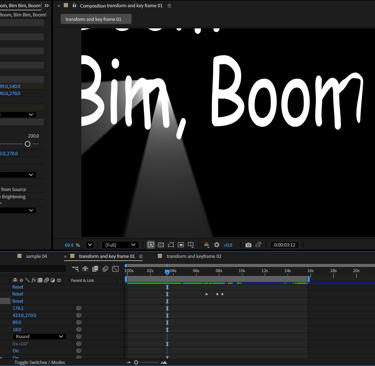
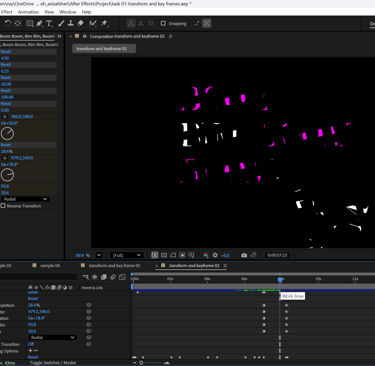
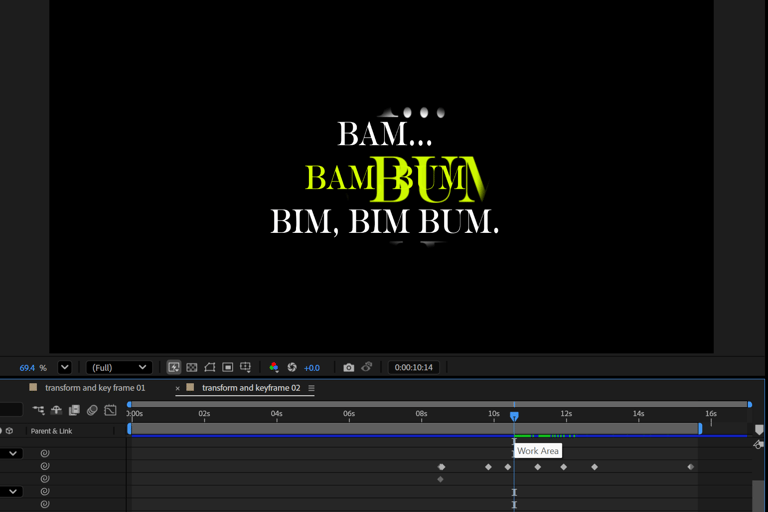
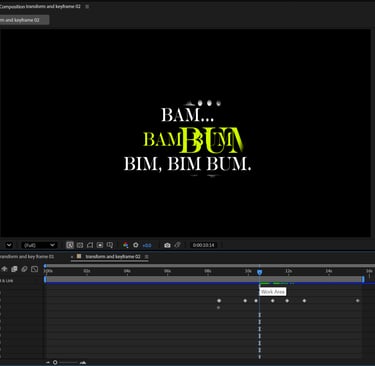
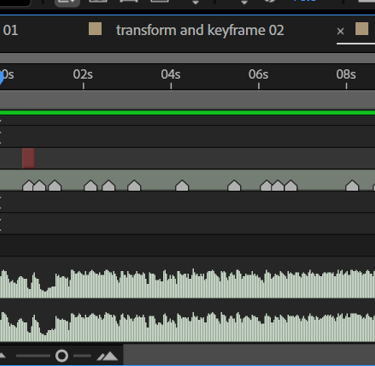
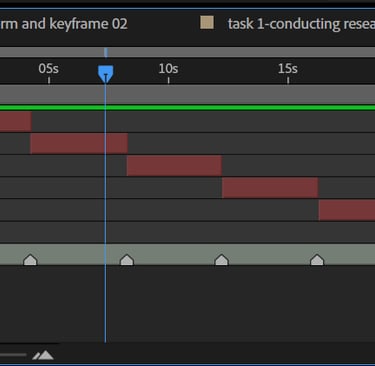
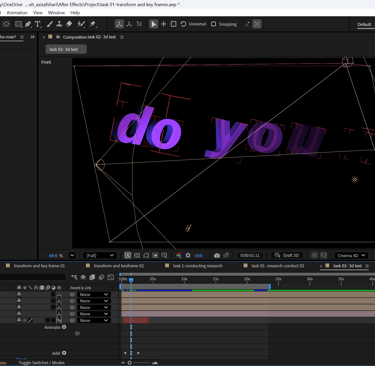
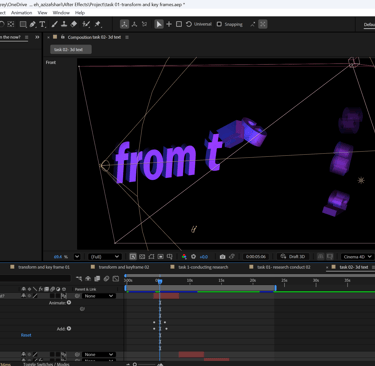
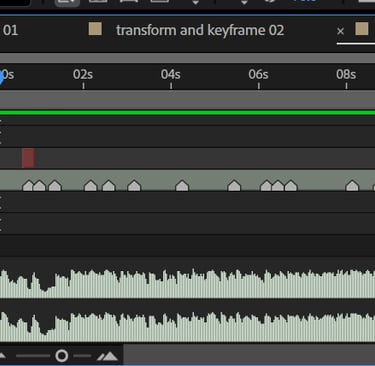
transformations and key frames
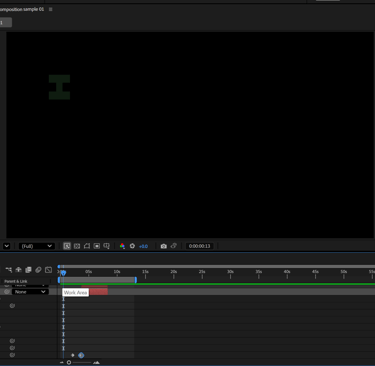
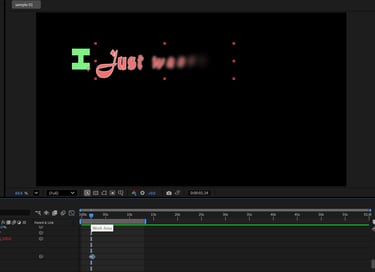
Composition 1 – Fewer Text Layers with Presets & Transformations
Starting a new comp: I began by creating a fresh composition with only two text layers instead of many individual ones, aiming to keep the same amount of text but in a cleaner structure.
Applying animation presets: I added an animation preset from the Effects & Presets library, then adjusted the Start/End keyframes and Offset. Animating the first text layer: At the end of this layer, I added a second preset and introduced opacity keyframes, making the text fade in/out precisely.
Animating the second text layer: I chose a preset from the Fill & Stroke folder and fine-tuned its keyframes.
Experimenting with transformations: To expand the effect, I animated Scale and adjusted the Anchor Point, creating variations for more dynamic movement.
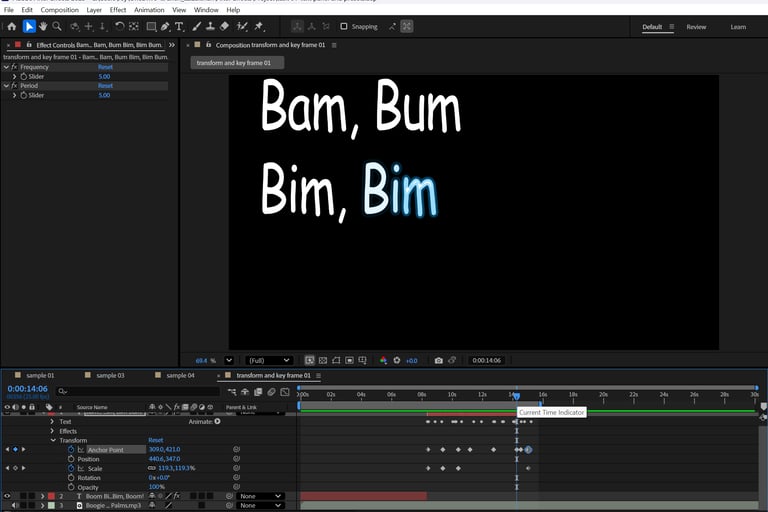
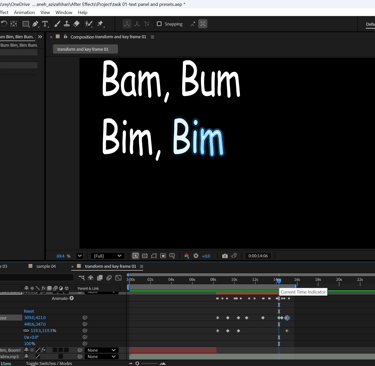


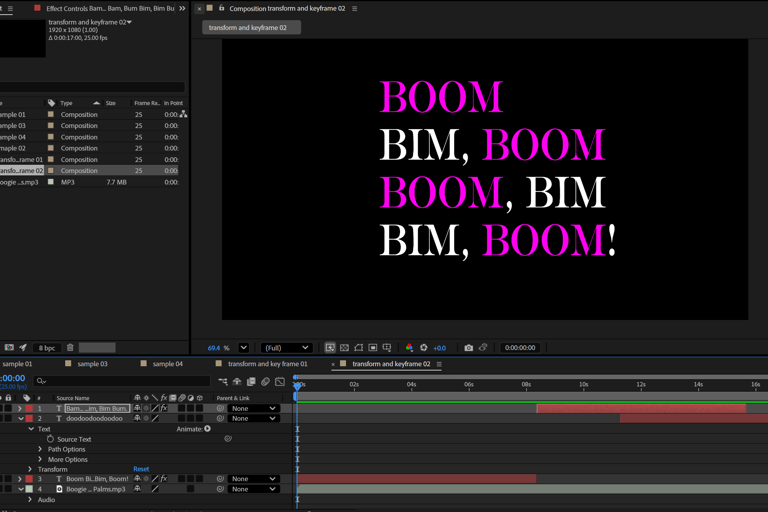
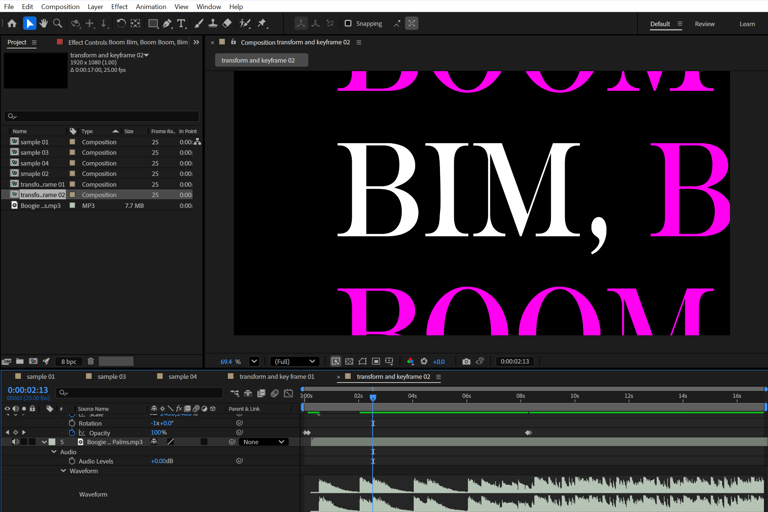
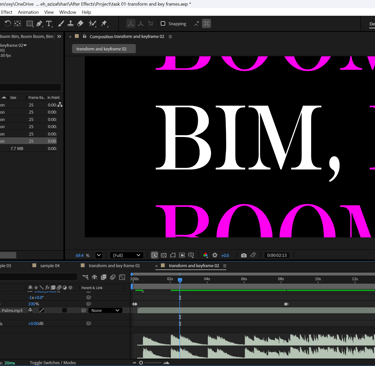
Composition 2 – Font/Color Variation & More Transformation Experiments
New composition setup: I duplicated the two text layers and audio track into a new comp, then changed the font and color for a fresh look. I also added a third text layer.
Adding transformation effects: This time I combined Position, Opacity, Rotation, and Scale keyframes, experimenting with smooth transitions.
Layer-specific transformations:
First text layer: Opacity, Scale, and Position changes for depth and emphasis.
Second text layer: Opacity, Scale, and Rotation to give variation and movement across the comp.
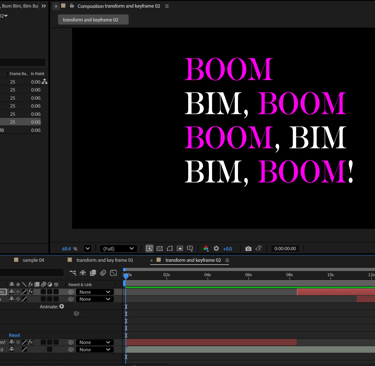


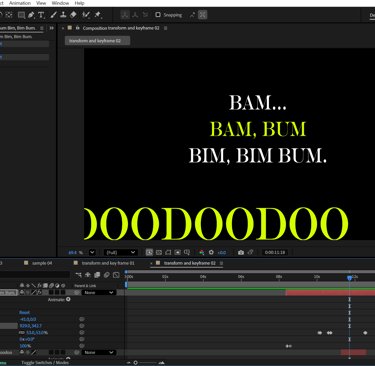
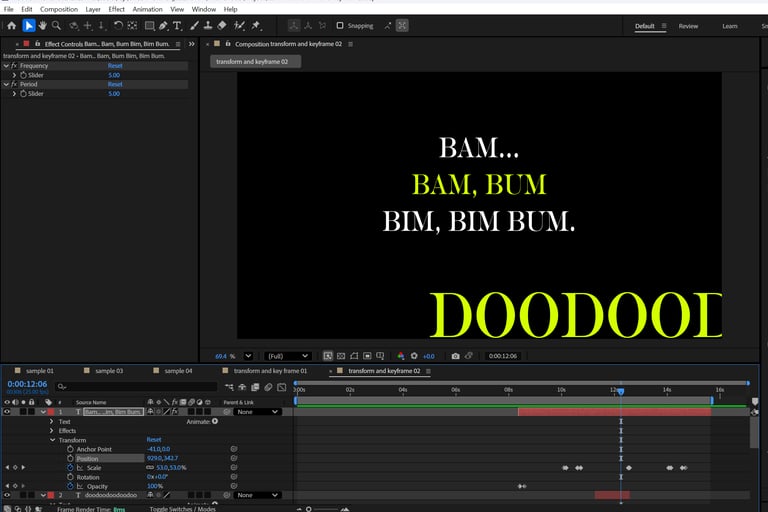
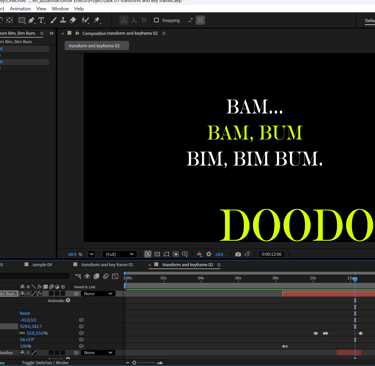


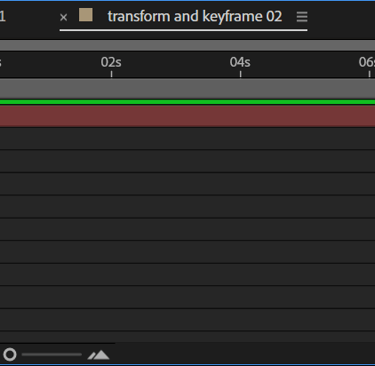
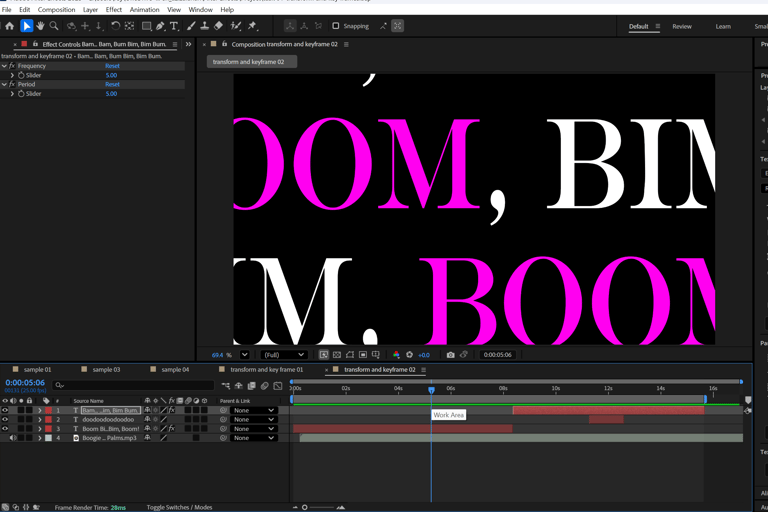
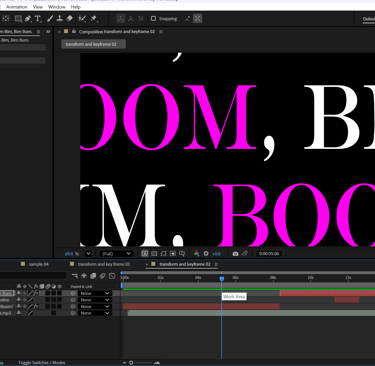
Here are the two video results for my experimentation with transformations and keyframes.


Comp 1
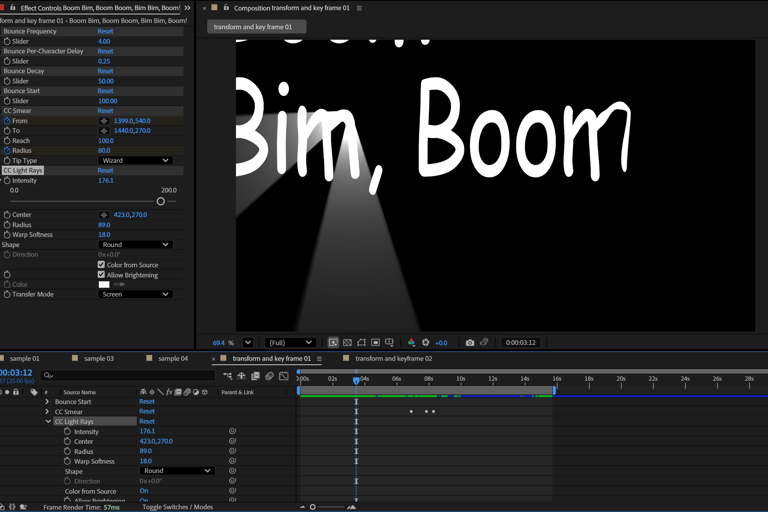
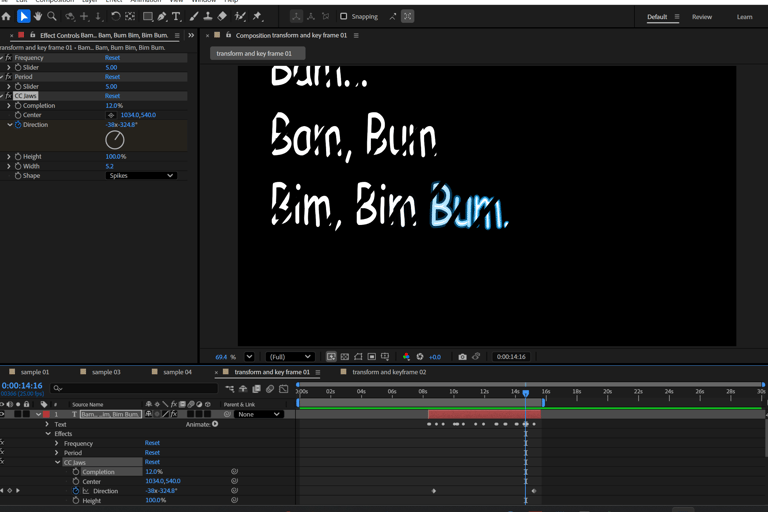
CC Smear → animated the From point and Radius with keyframes to distort the text dynamically.
CC Light Rays → adjusted Intensity, Radius, and Wrap Softness to create glowing, rhythmic accents.
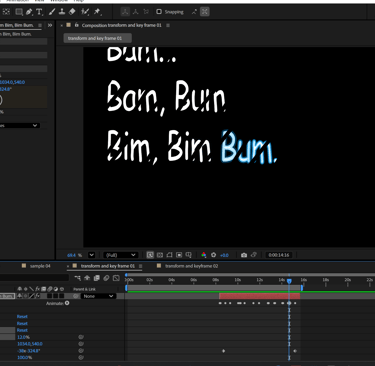
CC Jaws → added keyframes for Direction, and modified Width and Completion to give the text a sharper, cut-like movement.
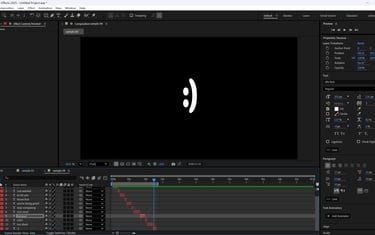
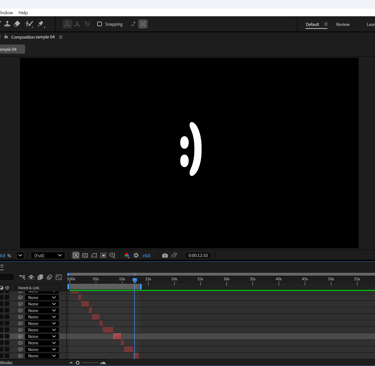
Experimenting with Effects


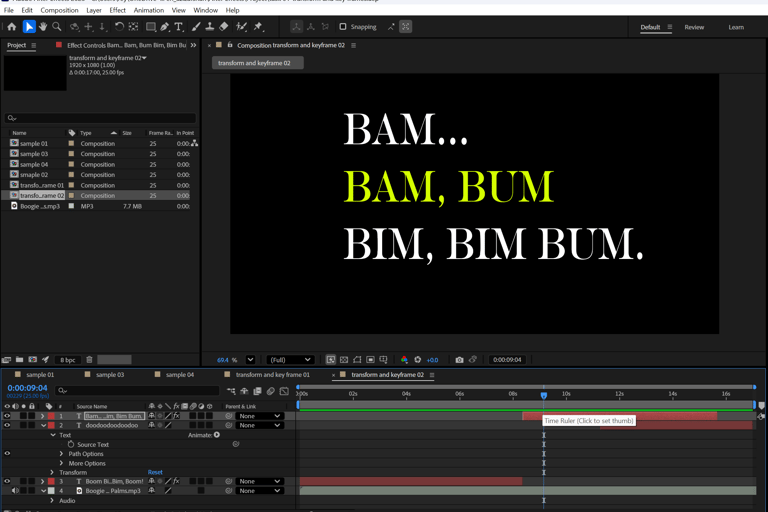
Comp 2
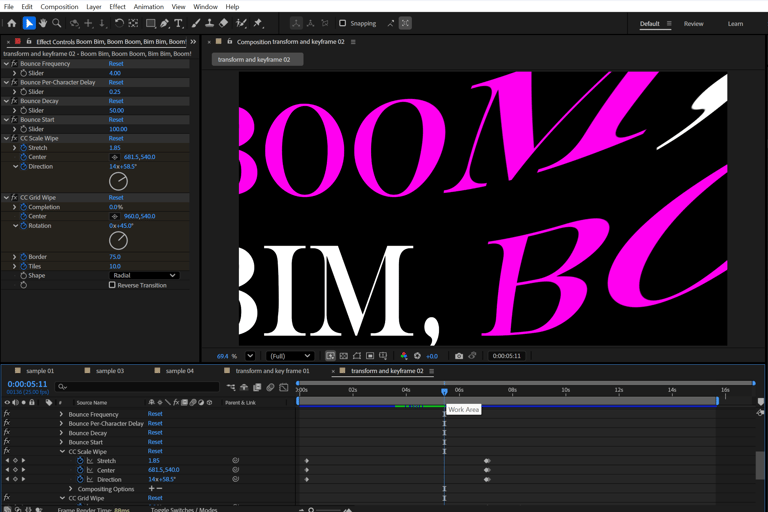
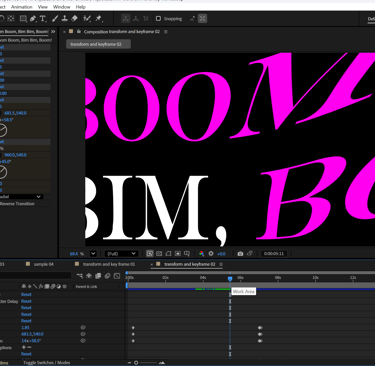
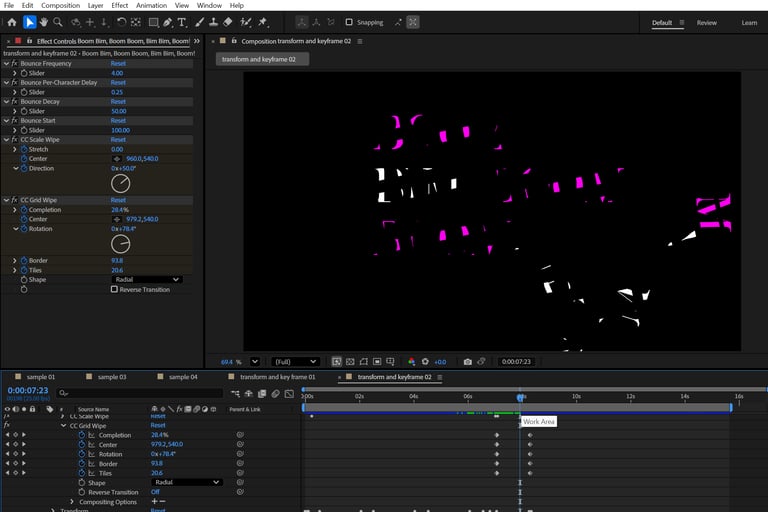
CC Scale Wipe → keyframed Stretch, Centre, and Direction for a stretched transition effect.
CC Grid Wipe → animated Completion, Center, Rotation, Border, and Tiles for a layered grid reveal.
Magnify → increased Magnification and Size, then added keyframes for the Effect Center while shifting the Anchor Point positions for varied focus.


here are the result for experimenting with effects
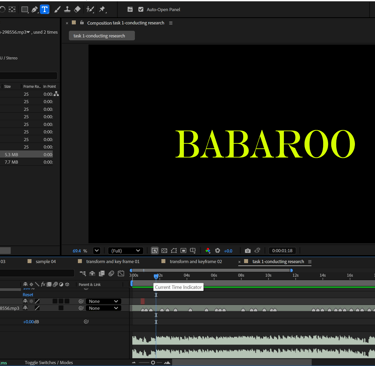
conducting further research using
online tutorials
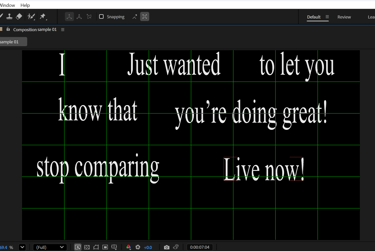
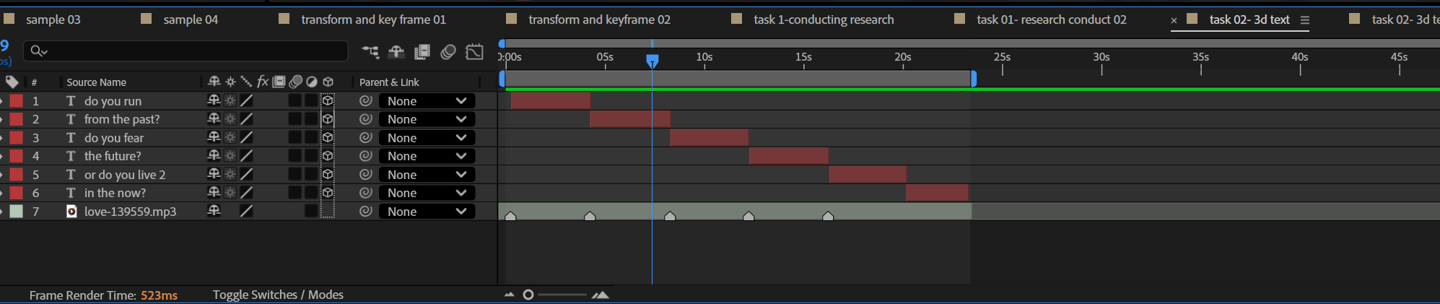
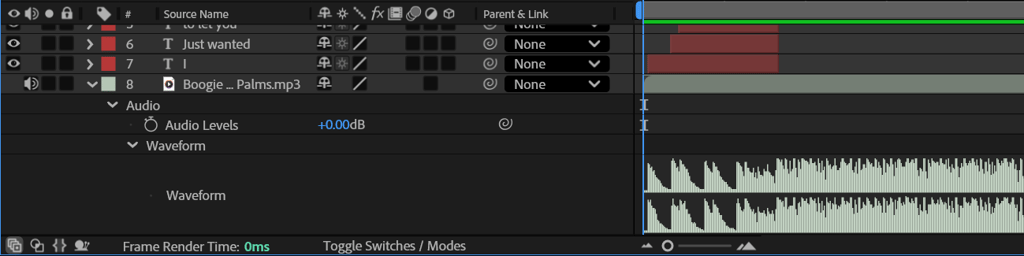
For the final part of this task, I added a new royalty-free song with lyrics. To make syncing easier, I placed markers on the audio layer, then added text and aligned it with the lyrics.
I also conducted research and followed three tutorials to extend my experimentation in After Effects: Fade Up, Bounce Animation, and Text on Path.
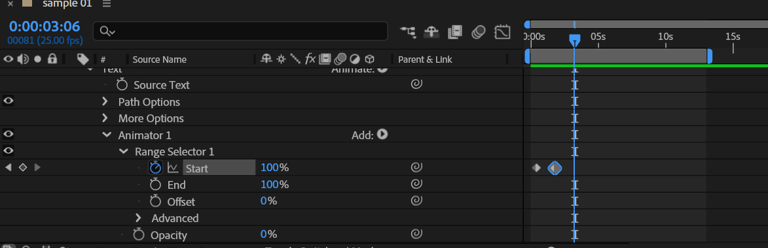
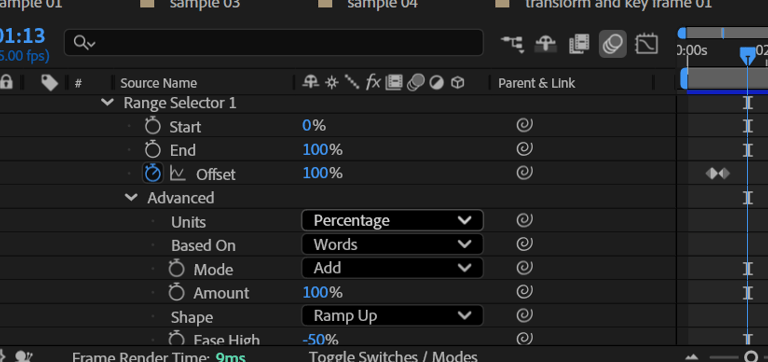
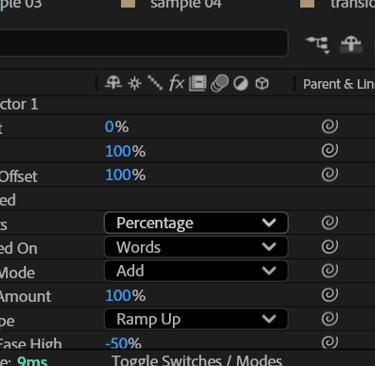
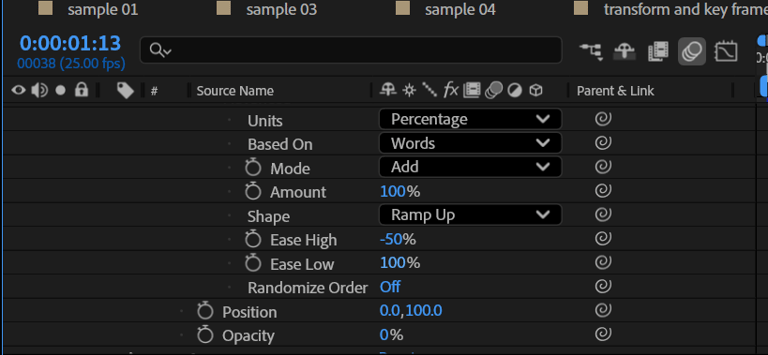
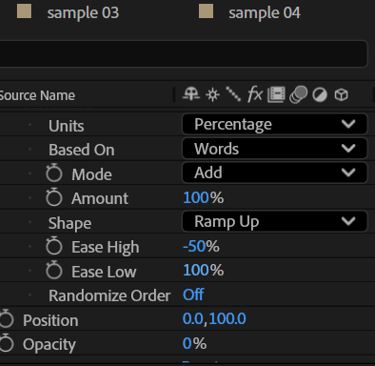
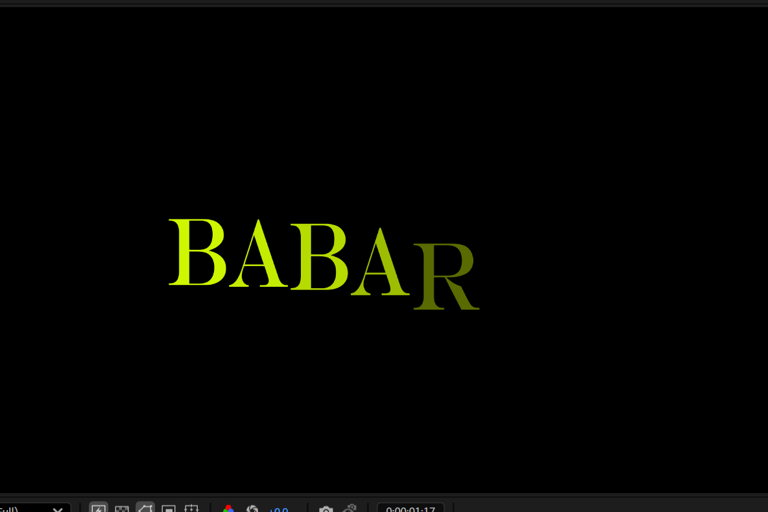
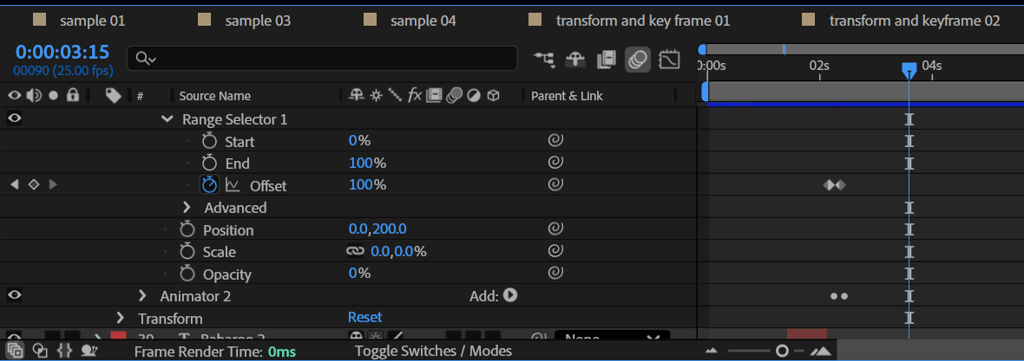
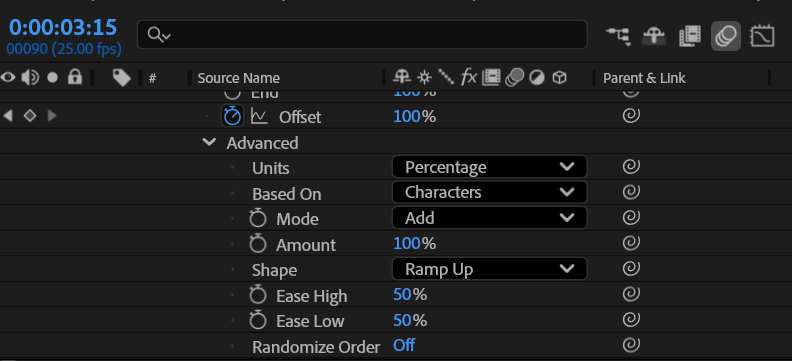
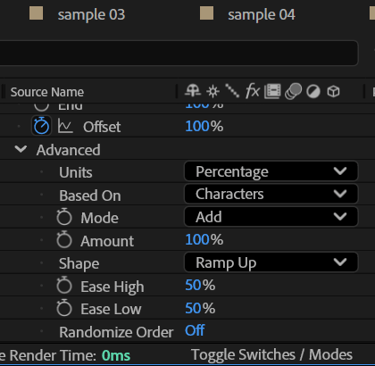
Fade Up Animation: Using the Animate button on the text layer, I added Opacity and Position properties. I then applied the Ramp Up shape in the Range Selector and adjusted keyframes to control the smooth transition. I copied and pasted this animator to other text layers for consistency.
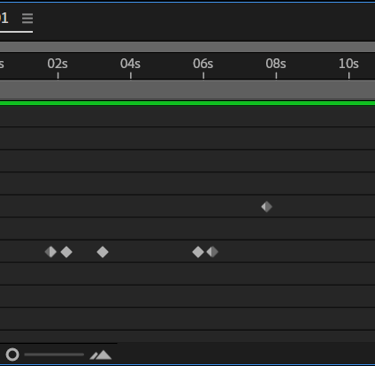
Bounce Animation: I applied Position, Scale, and Opacity through the text animator. In the Range Selector, I set the values from -100 to +100 and selected Ramp Up in the Advanced settings. To enhance the effect, I duplicated the animator (Ctrl+D) and offset the second set of keyframes by 10 frames for smoother motion. In this second animator, I reversed the position value, adjusted the scale from 0 to 150, and removed the opacity, creating a layered, bouncy movement.
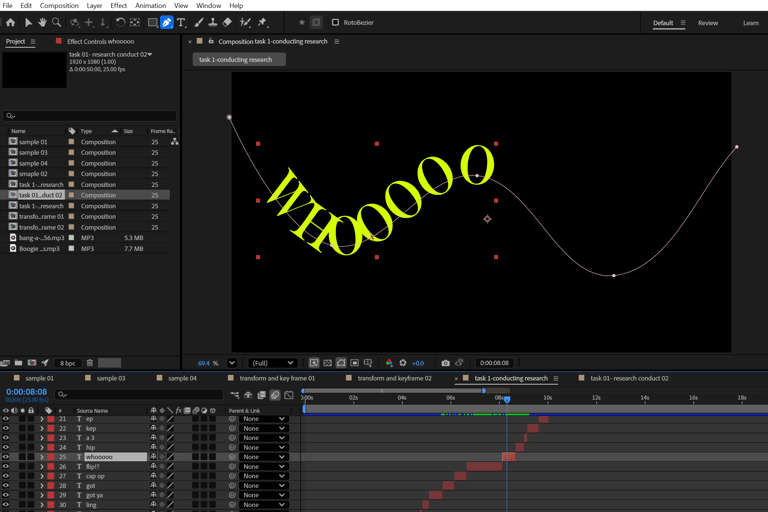
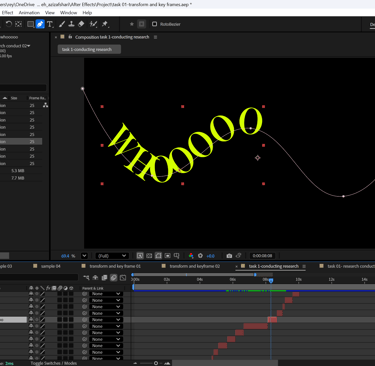
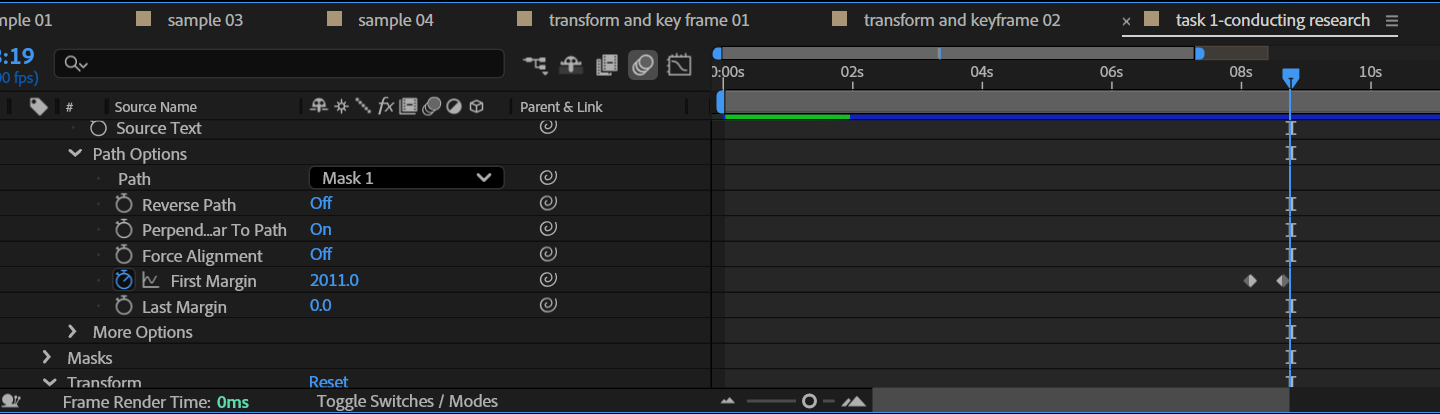
Text on Path Animation: I first drew a path line and refined it by curving the anchor points with Alt + Left Click. Then, I animated the text along this path by adding keyframes to the Path Options > First Margin property, creating a flowing motion around the curve.


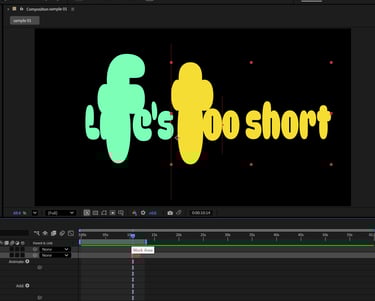
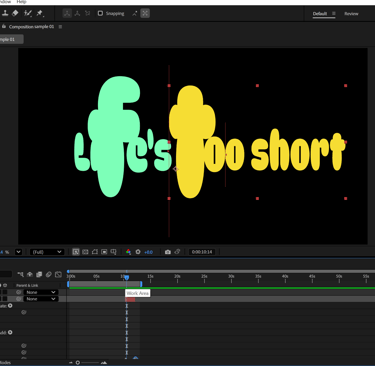
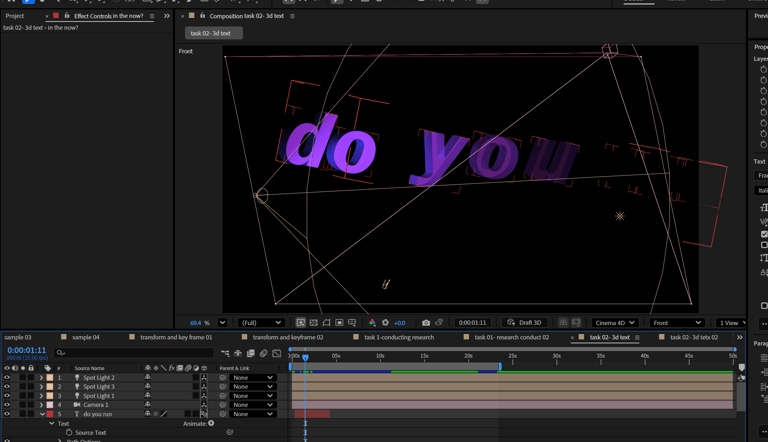
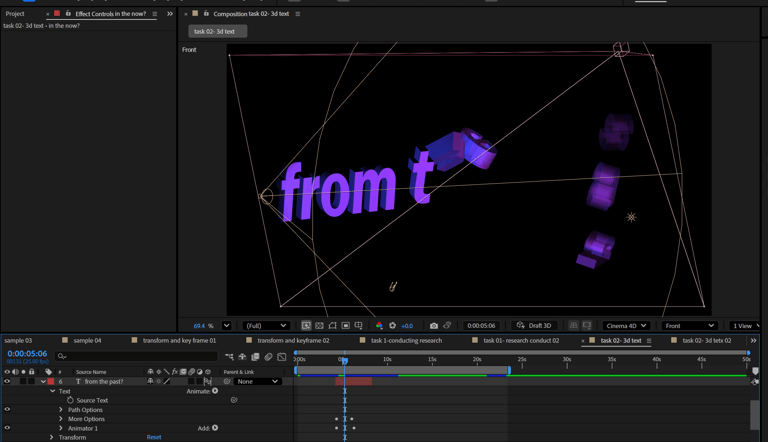
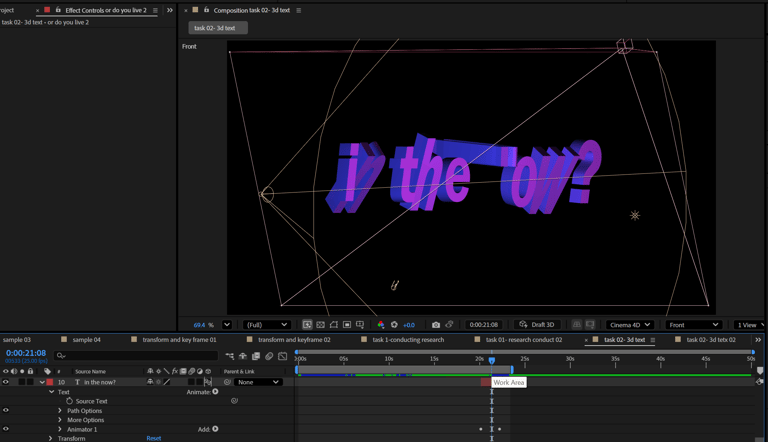
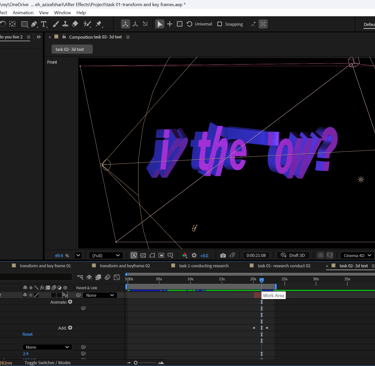
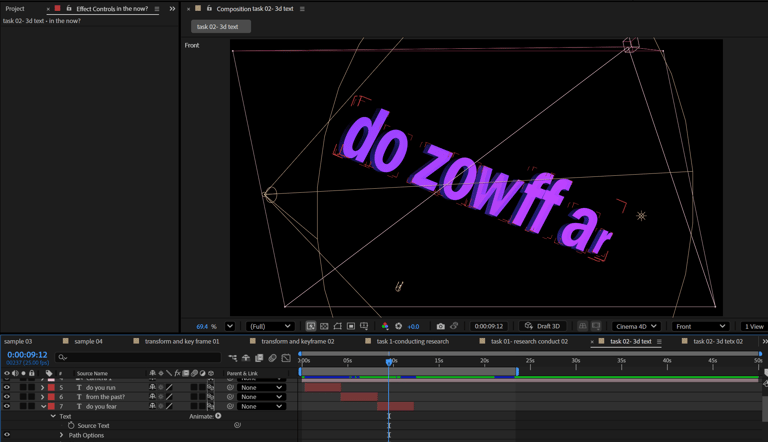
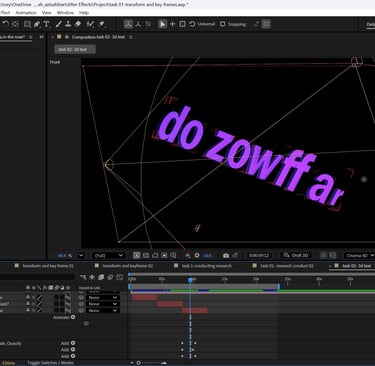
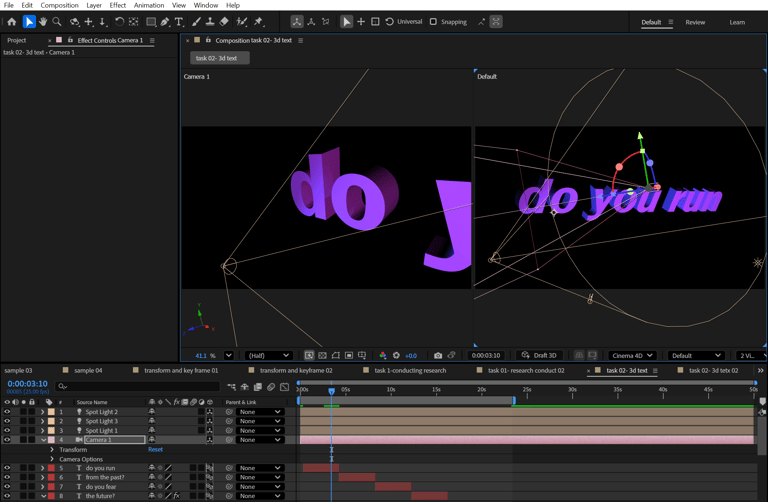
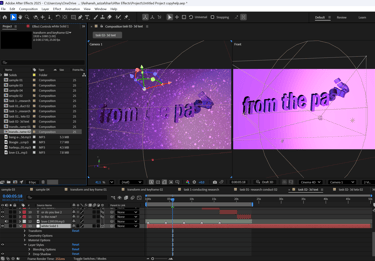
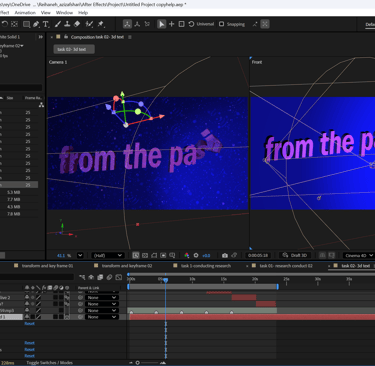
Week 07: Task 02, Animating 3D text in After Effects
New Composition Setup: I created a new composition and adjusted the render settings in the panel to Cinematic 4D for better 3D rendering quality.
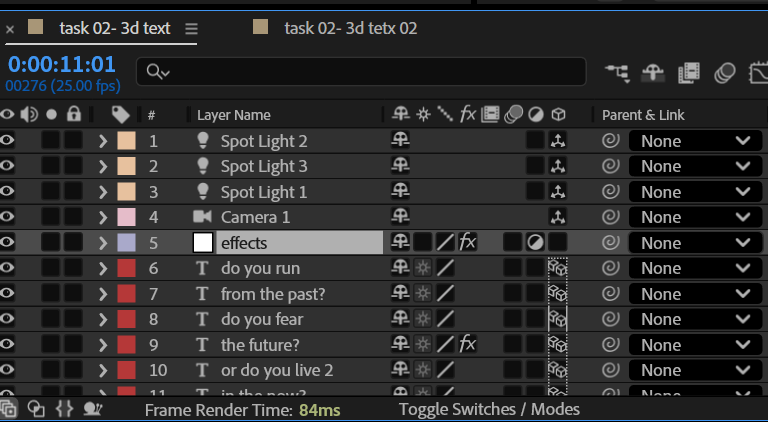
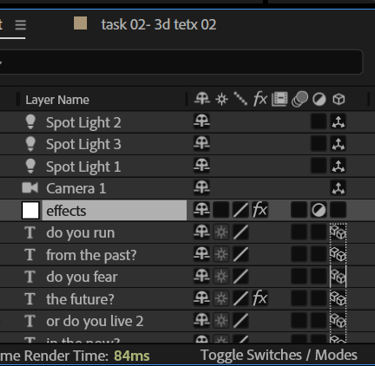
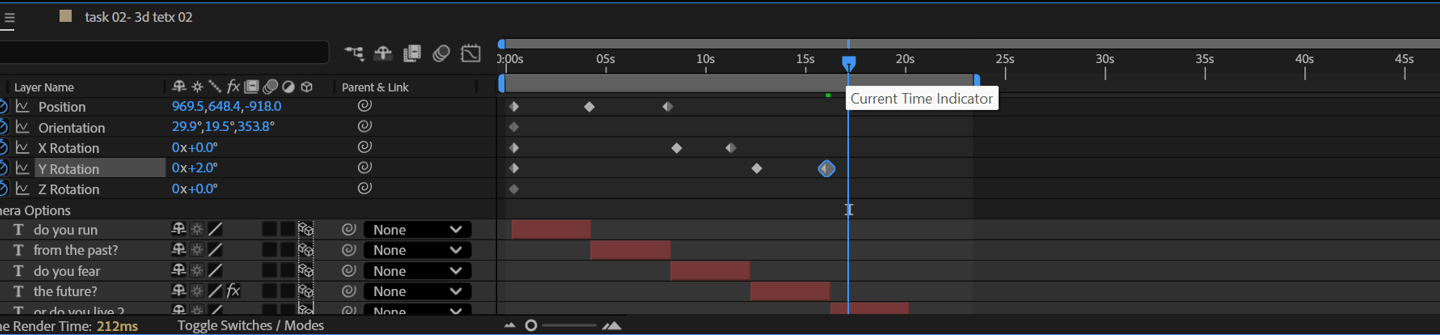
I added four text layers, and switched to a bold font to make the text stand out in 3D.
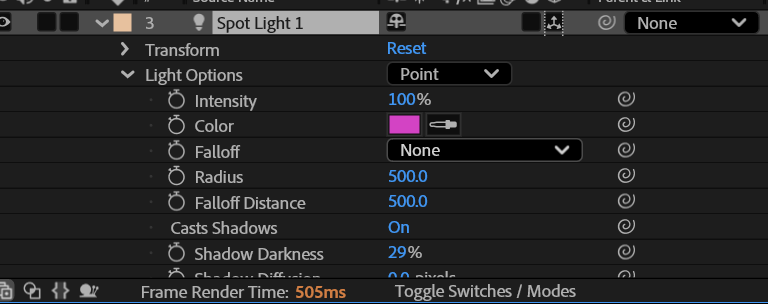
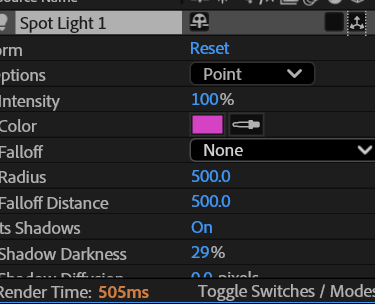
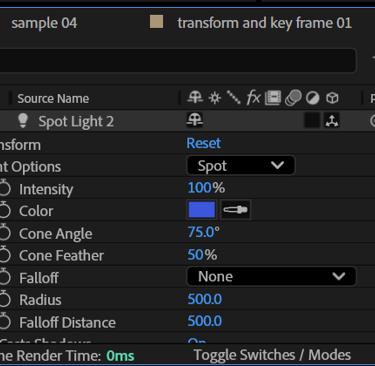
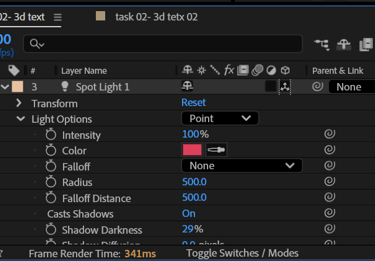
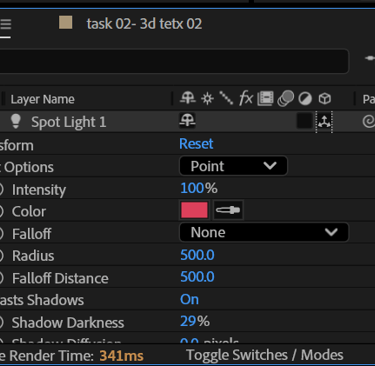
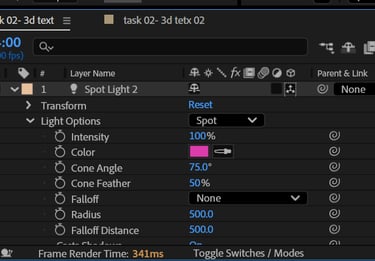
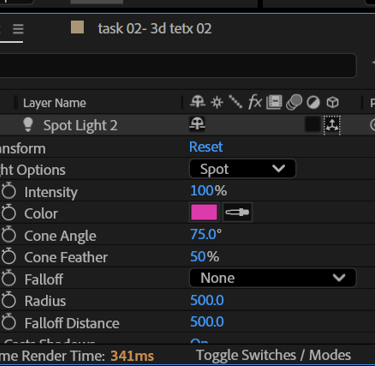
3D Layering: I enabled the 3D layer option for each text, then added three light layers and a camera layer. I adjusted the lighting and camera using the 3D gizmo across the XYZ axis.
Lighting Adjustments: I fine-tuned the light settings (intensity, cone angle, and feather) to create depth and highlight the text.
Animations: Finally, I applied animation presets to each text layer, syncing them with the music for a dynamic 3D motion effect.

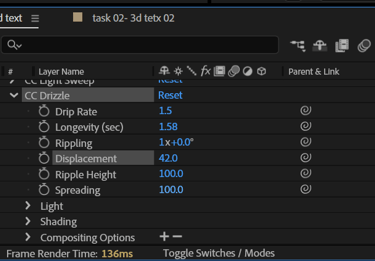
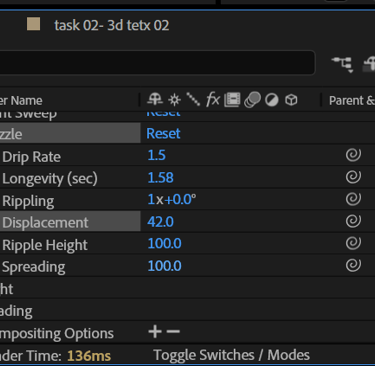
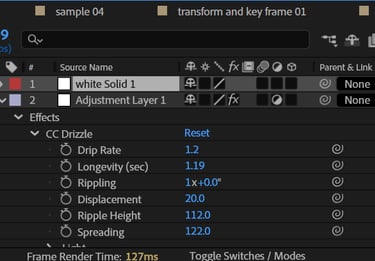
Solid Layer and Effects
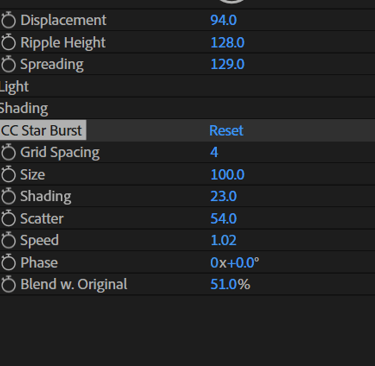
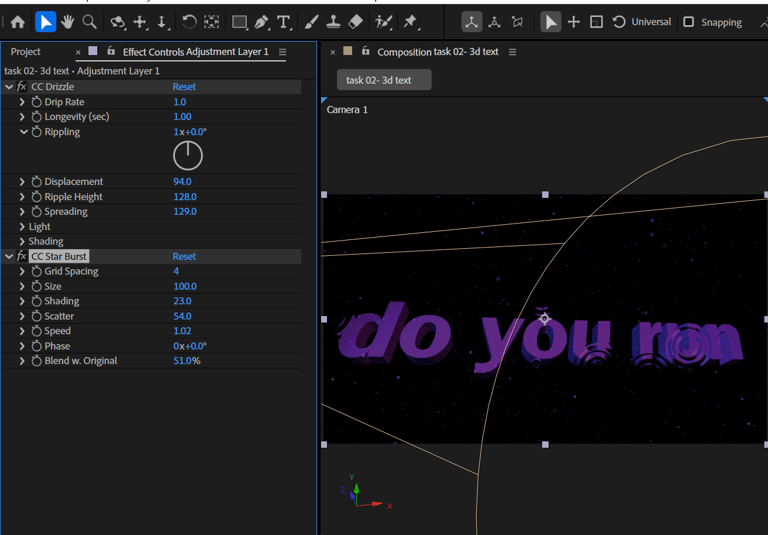
Adjustment Layer: I added an adjustment layer on top of the composition and applied two effects: CC Drizzle for a rain-like overlay and CC Star Burst for dynamic light streaks.
Background Setup: To complete the scene, I created a blue solid layer, enabled the 3D layer option (cube icon), and positioned it behind all the other layers so it functioned as the background.


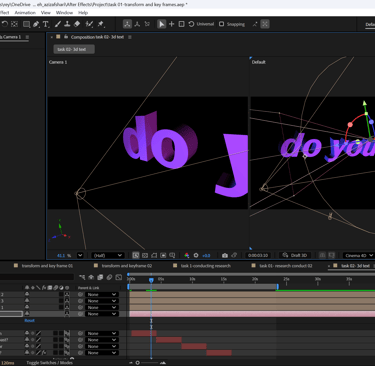
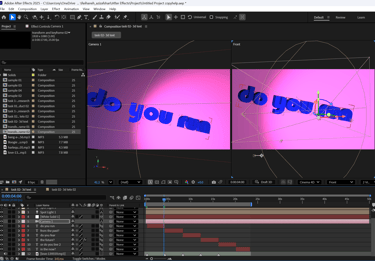
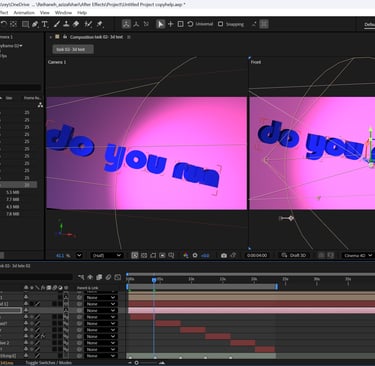
For Task 2 (animating 3D text with camera, lighting, and effects), I was not able to experiment as extensively as I did in Task 1. My computer often crashed when I attempted more complex techniques, so I focused on doing as much as possible within those limits. Despite the technical issues, I still explored camera movement, lighting adjustments, 3D text, and background effects to create a complete composition.
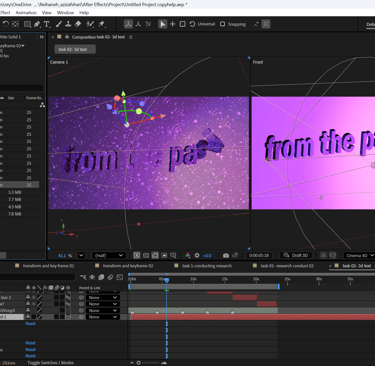
In my new composition, I first adjusted the text by changing both its font and colour to create a clearer visual style. I also modified the solid layer color to complement the new text design.
After setting up the base, I added keyframes to the camera’s position, rotation, and point of interest, which allowed me to create smoother and more dynamic camera movements throughout the composition.

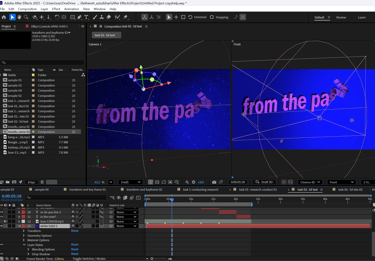
the outcome

Task 03 Refining, timing, and compositing


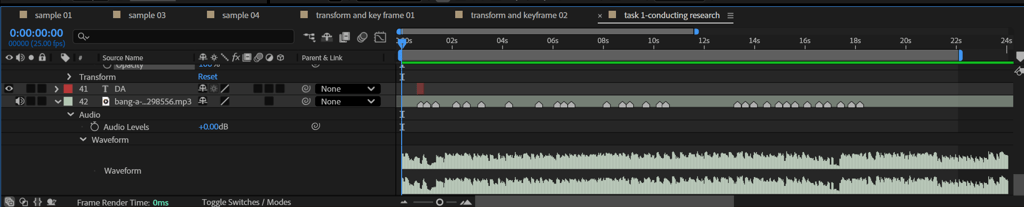
For the compositions, I imported royalty-free music, added markers on the beats, and refined the timing of my text animations. I worked on synchronising the compositions to the audio, ensuring the motion aligned closely with the rhythm for a more cohesive and polished outcome
Task 04 Reflective Report
Reflective Report
This project helped me see motion design not just as a technical practice but as a journey of discovery shaped by experimentation, challenges, and reflection. Each task revealed something different about my approach to design, showing me that growth comes less from mastering tools and more from how those tools shift the way I think and create.
In the early stages, I worked cautiously, testing small changes in text and movement. At first, it felt like trial and error, but gradually I realised that working in small increments built my confidence. Paying attention to timing and rhythm made me more sensitive to how even simple movements could transform meaning. This stage taught me patience and reminded me that subtle decisions often carry more impact than dramatic ones.
When I began exploring more complex ideas such as 3D text and lighting, I encountered frequent technical setbacks. My computer crashed often, limiting what I could achieve. Initially, this felt discouraging, but I came to see these restrictions as part of the process. They forced me to focus on clarity rather than complexity, and I discovered creativity within those boundaries. What I produced was less ambitious than I imagined, but it still reflected an awareness of space, atmosphere, and depth. This made me reconsider what ambition in design really means — not always going bigger, but finding meaning in what is achievable.
Working with audio later in the project marked a turning point. Syncing text with sound gave me a deeper appreciation of rhythm and pacing. The process shifted my focus from purely visual timing to a more holistic experience, where sound and image interacted to create impact. This made me see motion graphics as more than moving visuals; they became a way to shape emotion and immersion.
Research also played an important role in shaping this journey. Tutorials introduced me to techniques like layered animators and text on path, but more importantly, they expanded the way I thought about rhythm, layering, and complexity. Each new idea felt less like a skill to check off and more like a lens that changed how I approached design problems. Learning became less about collecting techniques and more about reflecting on how each one could influence my creative decisions.
Looking back, I see the project as a process of transformation. The first task gave me a foundation through small, steady steps. The second challenged me with technical limits that forced me to adapt. The third finally integrated audio, timing, and rhythm, bringing everything together into a more complete understanding of motion design.
The biggest outcome for me was not the individual animations but the mindset I gained. I learned to accept uncertainty, work through limitations, and find creativity in simplicity. Motion design became a reflective practice where progress is measured not just in polished outputs, but in how the process reshapes the way I think, experiment, and grow as a designer.
Reference List
Smertimba Graphics. (2024, September 16). BOUNCE TEXT Animation in After Effects: NO EXPRESSIONS[Video]. YouTube. https://youtu.be/gPL0YoR6F4s?si=SpAVYx-jQVU2QRj2
Smertimba Graphics. (2023, November 27). Text Along Path Tutorial in After Effects: Text On Path[video]. YouTube. https://youtu.be/_CEpgznn-XU?si=xQgrTUsUGlJOtDC1
Marketing Demons. (2025, April 11). How To Master Text Animation In After Effects (Under 1 Minutes)[video]. YouTube. https://youtu.be/16kTqBUh8mM?si=4bdSTECUkhuqb1TC
Carolina Teliz. (2025, September 15). Boogie Down – The Grey Room / Golden Palms [Audio]. Audio.com. https://audio.com/carolina-teliz/audio/boogie-down-the-grey-room-golden-palms
TheCrownIsMine et al. (2025, February 12). Bang A Bop — pop-a-lock [version] [Audio]. Pixabay. https://pixabay.com/music/american-roots-rock-bang-a-bop-pop-a-lock-version-298556/
attic13. (2025). Love [Audio]. Pixabay. https://pixabay.com/music/beats-love-139559/